

Deploying a DataRobot Model from the Model Registry
This post was originally part of the DataRobot Community. Visit now to browse discussions and ask questions about DataRobot, AI Platform, data science, and more.
Once your model is in the Model Registry, it’s easy to create a deployment from the model package that holds it. In just a few steps you’ll be up and running quickly with your deployment.
To start, select Deploy from the actions menu on the right.

On the following page you’ll enter the remaining information needed to track predictions and model accuracy.
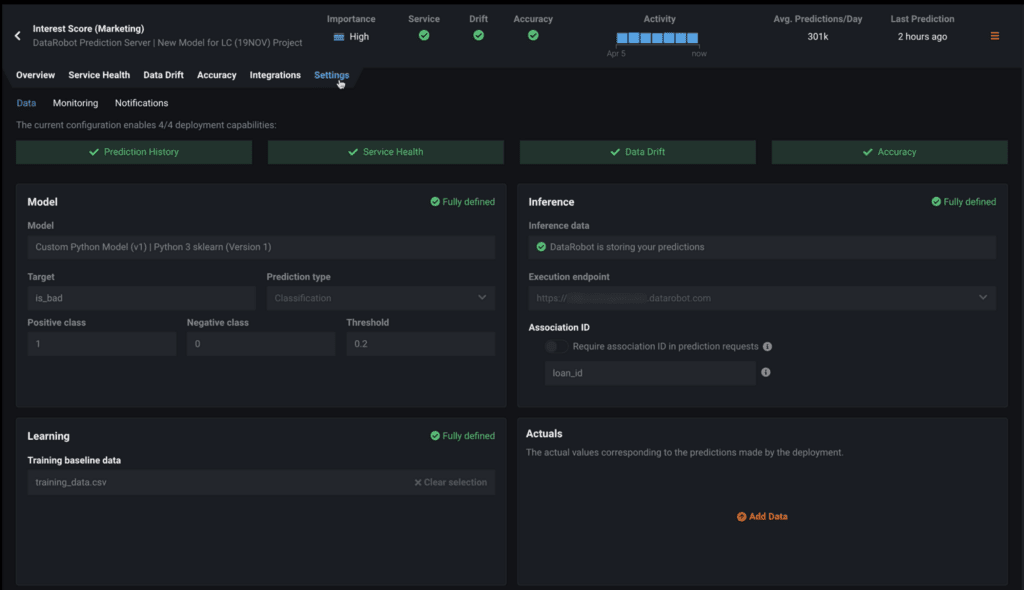
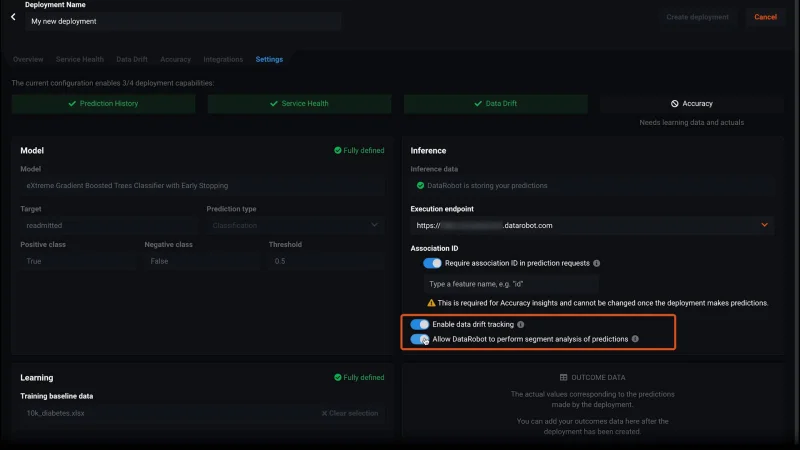
The information you see in the Model section has already been supplied from the contents of the model package file.
Likewise, we see in the Learning section that the data used to train the model is also already known; DataRobot stored the information from when it created the AutoML or AutoTS project.
The Inference section contains information about capturing predictions and we can see that it is only partially complete. DataRobot stores the incoming prediction data received via an API call at the url endpoint provided. If your DataRobot instance is hosted on the Managed AI Platform, the sub-domain name will be derived from your account, and if you have an on-prem installation, your endpoint will be hosted at your domain. Capturing the predictions allows DataRobot to assess how the nature of your incoming prediction data differs from your training data.
To capture those differences, click Enable Data Drift Tracking. Checking the button to perform segment analysis allows DataRobot to identify characteristics of the incoming data, such as the permission level of the user making the requests or the IP address where the request came from.
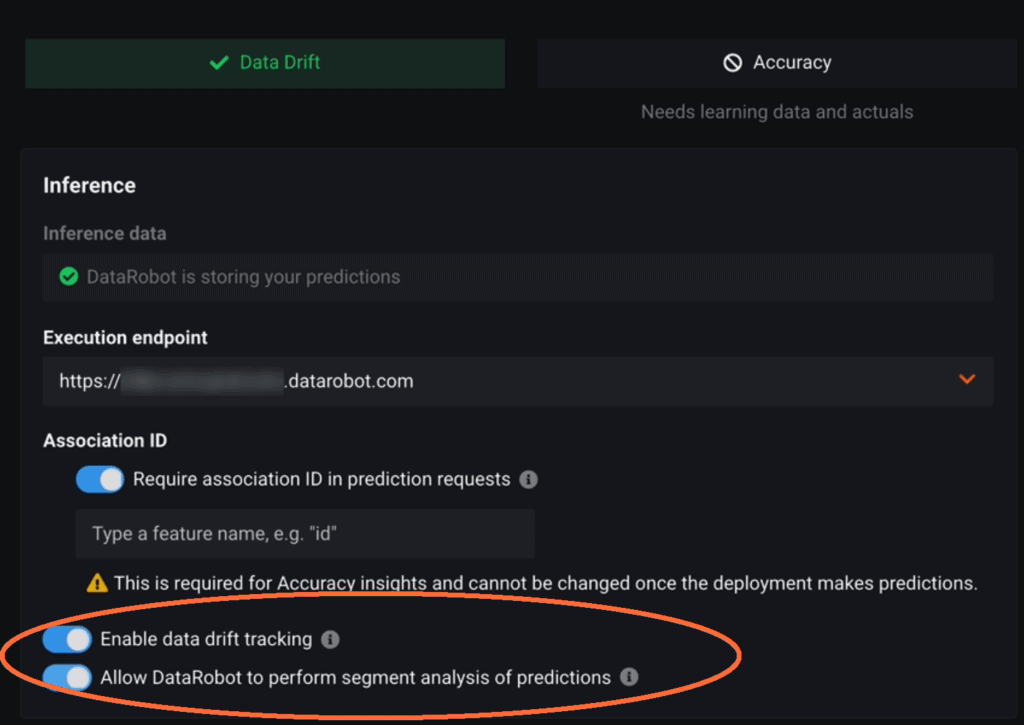
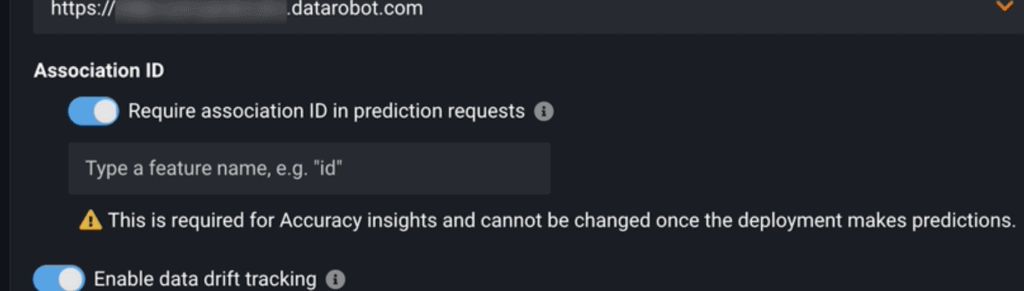
But if you want to track the prediction accuracy, you need to be able to associate the predictions the model makes with the actual results. And it’s often that the actual outcome isn’t known for days, weeks, or months later. We refer to these actual results simply as the “actuals.” Now you need an identifier to associate the predictions with the actuals. The Association ID is an extra column that is appended to the rows of the request data, and uniquely identifies each prediction. Then, when you upload the actuals dataset, you supply the Association ID and the actual value of what happened to tie the two together.
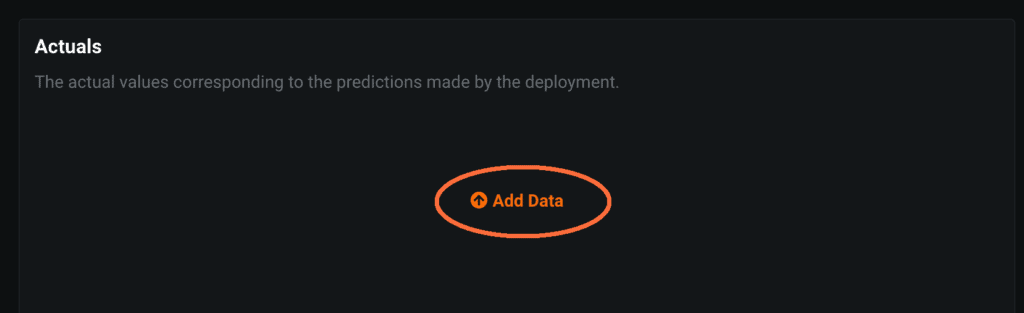
Which brings us to the last section for the Actuals outcome. After the deployment is created and you acquire the actuals, you can click the Add Data link to upload them. Just follow a few more steps when Uploading Actuals.
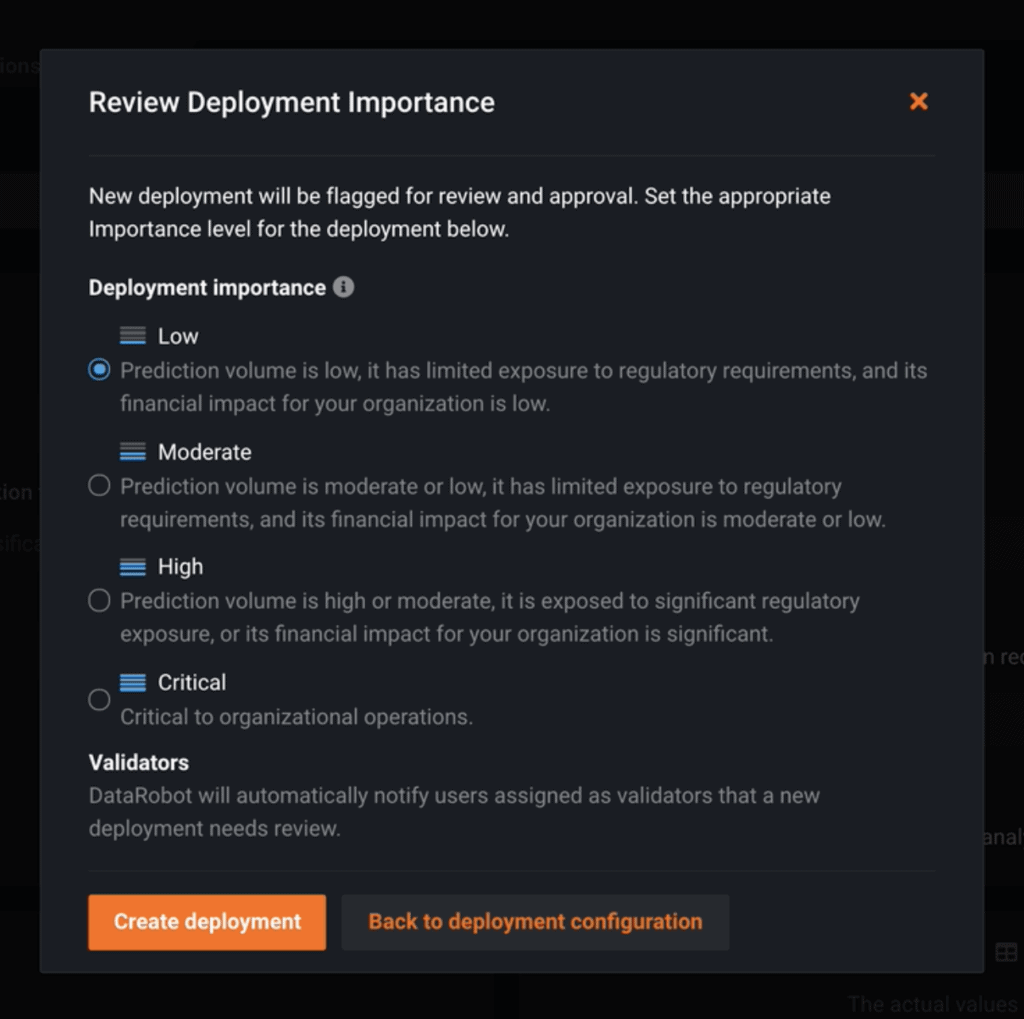
All that’s left to do now is to give your deployment a name, click Create deployment, and indicate the level of importance for the deployment; this creates the new Deployment. The deployed model is now ready to receive prediction requests and MLOps will start tracking the predictions. To find out more about the model Importance settings, have a look at the MLOps Governance capabilities.
More Information
Find out more by visiting our public documentation portal and navigating to Deploy tab section.

-
How to Choose the Right LLM for Your Use Case
April 18, 2024· 7 min read -
Belong @ DataRobot: Celebrating 2024 Women’s History Month with DataRobot AI Legends
March 28, 2024· 6 min read -
Choosing the Right Vector Embedding Model for Your Generative AI Use Case
March 7, 2024· 8 min read
Latest posts
